Posted by Ana Laura
on July 05, 2024
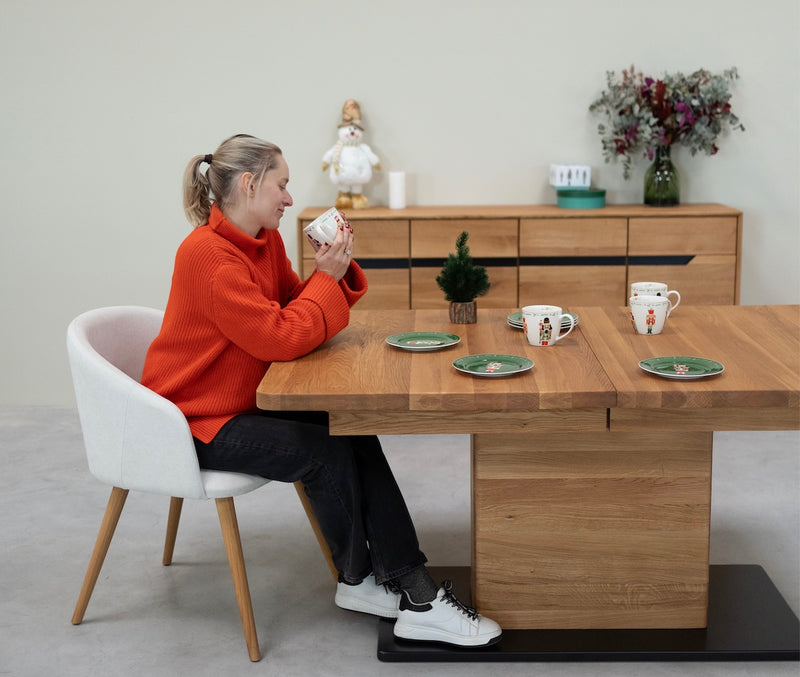
Line a wooden cabinet on the inside not only improves its appearance but also protects it and extends its lifespan. Have you ever wondered why lined cabinets look more elegant and organized? Let’s find out together with Roble.Store!
Materials needed to line a cabinet
Materials Needed
Before you begin, make sure you have all the necessary materials and tools. This includes:
- Lining paper or cloth
- Scissors or box cutter
- Ruler or tape measure
- Pencil
- Adhesive (spray glue or double-sided tape)
- Spatula
Preparation of the cabinet
Interior Cleaning
First, empty the cabinet completely and clean it. Make sure it is free of dust and dirt.
Space Measurement
Use a tape measure to measure all surfaces to be lined: walls, shelves, doors and drawers. Write down these measurements.
Lining Material Selection
Types of Materials
There are several materials you can use to line your closet:
- Lining paper: Easy to use and available in many designs.
- Fabric: Provides a more elegant finish.
- Adhesive vinyl: Durable and easy to clean.
Advantages and Disadvantages
- Paper: Economical but can be easily torn.
- Fabric: Elegant but more difficult to clean.
- Vinyl: Durable but can be more expensive.
Material Cutting
How to Measure and Cut Correctly
Use the measurements you took earlier to cut the lining material. Be sure to leave a small margin for adjustment if necessary.
Tips to Avoid Common Mistakes
- Mark the cutting lines with a pencil.
- Use a ruler for straight cuts.
- Cut slowly to avoid tearing the material.
Adhesives and Fastening Tools
Types of Adhesives
You can use spray glue, double-sided tape or liquid glue. Each has its advantages:
- Spray glue: Easy to apply, but can be difficult to correct if you make a mistake.
- Double-sided tape: Allows for adjustments, but may not be as durable.
- Liquid glue: Strong, but can be messy.
Recommended Tools
A spatula can help you smooth the material and remove air bubbles.
Lining Process
Step by Step for Lining a Closet
- Apply the Adhesive: Place the adhesive in small sections to work in a more manageable way.
- Place the Material: Start from a corner and smooth the material with the trowel as you go.
- Eliminate Bubbles: Use the spatula to smooth and eliminate any air bubbles.
Tips for a Perfect Finish
- Work in a well-lit area.
- Take your time to avoid mistakes.
- Do not hesitate to ask for help if necessary.
Shelf Liner
Specific Techniques for Shelves
Cut the lining material slightly larger than the shelf. Position the material and trim the edges for a clean finish.
Ensuring Good Adherence
Press the material firmly against the shelf and use the spatula to remove any air bubbles.
Door Lining
Door Lining Methods
Remove the doors if possible. This will make the process easier and allow you to work on a flat surface.
Special Considerations
Make sure that the lining material does not interfere with the hinges or the door locking mechanism.
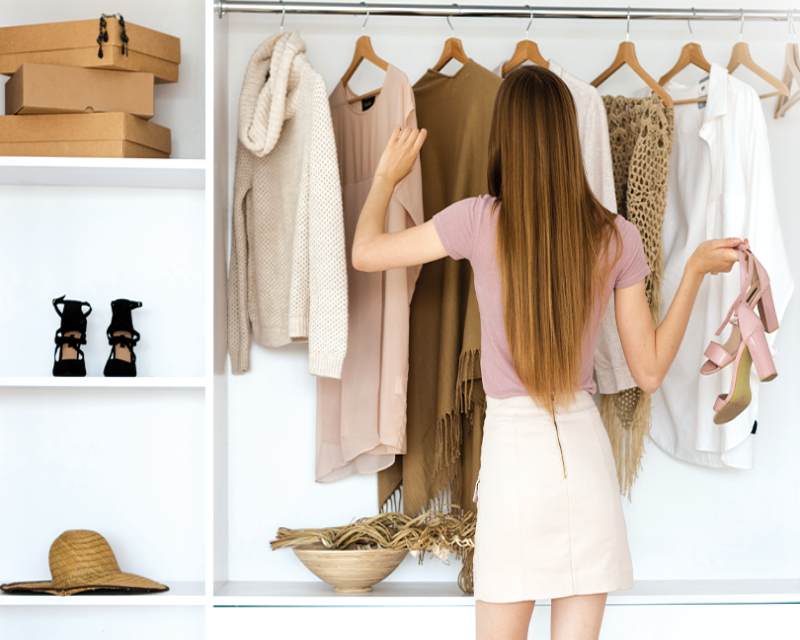
Drawer Lining
How to Line Drawers Internally
Cut the liner material to fit the inside of the drawer. Apply adhesive and press the material firmly against the inside surfaces of the drawer.
Tips for Keeping Drawers Functional
Avoid lining material that is too thick at the edges, as this can make it difficult to open and close the drawer.

Finishes and Details
Adding Decorative Details
You can add details such as decorative ribbons or lace edging for an extra touch of style.
Protecting the Lining
Consider applying a protective coating of varnish or sealant over the lining material to prolong its durability.
Lining Maintenance
How to Clean and Maintain the Lining
Clean the lining with a damp cloth. Avoid abrasive cleaning products that may damage the material.
Tips for Extending Service Life
Regularly inspect the liner and repair any minor damage immediately to avoid major problems.
Troubleshooting Common Problems
How to Fix Bubbles and Wrinkles
Use a needle to prick the bubbles and then smooth the material with the spatula.
Minor Damage Repair
Use additional glue to repair any peeling or damaged areas.

Conclusion
Lining the inside of a wood cabinet can completely transform its appearance and functionality. With a little time and the right materials, you can achieve a professional finish that will protect your cabinet for years to come. Are you up for giving it a try?
FAQs
-
What material is best for lining a cabinet? It depends on your needs. Vinyl is durable, while fabric offers a more elegant finish.
-
Can I line a cabinet without removing the doors? Yes, but it will be more difficult to work in the areas near the hinges.
-
How do I keep the liner from peeling off? Use a strong adhesive and be sure to press firmly on the material when applying it.
-
Is it necessary to use a spatula? It is not essential, but it helps to smooth the material and eliminate air bubbles.
-
How long does it take for the adhesive to dry? It depends on the type of adhesive, but generally a few hours.